Monday, May 21, 2018

1960's Belle inspired Gala Gown


Every year I attend a beautiful ballet gala and get to dress up. I always joke that it is like prom for adults. The first couple years I bought dresses but the past two years I have made my own. The year before I went in emerald green velvet with an Edwardian look. This year I wanted to emulate some Hollywood glamour with a slight Disney vibe for fun. In a wonderful twist of fate, a kind sewing friend sent me yards and yards of gold brocade and I knew it would be perfect!

I started with Gertie's Ultimate Dress Book. I confess I had never done a modern boned bodice before. I had a general idea but wanted some instructions just in case. The book comes with several basic paper patterns then shows how to mix and match. 


I chose the classic strapless bodice and didn't really do much in ways of modifying. It is a basic strapless bodice with princess seams. I was pleasantly surprised with the good fit. I took in the waist a teeny bit then set to work with boning. 


As you can see in the images, Gertie walks you through the boning sequence and even gives you supply options. I went with lightweight rigelene boning because I did not need much support and the idea of just sewing in casings with boning already inside was appealing. The bodice went together fairly easily. In a surprising move, I opted to bone the lining rather than the brocade. I attached the lining at top of bodice neckline and it worked ok! 

The brocade frayed like crazy so I serged. The red thread was due to pure laziness (no one would see it anyway). In these pictures the lining isnt attached at the bottom of the bodice.

Once the bodice was complete I started on the skirt. The brocade fabric was very very heavy so gathering was not an option (ok fine, I did try to gather and it was a horrible disaster that left me yelling at gold fabric and questioning everything in my life). I draped the fabric on Betty the mannequin and discovered that 3 yards was my max width. I left the front flat and started to pleat towards the back. This solved many problems. First, It left the front with clean lines. Second, the pleats all facing towards the back created fullness in the back, which makes for a great profile. And third and most important, the thick pleats laid nicely and made it possible to attach to the bodice. 

Some close ups of the pleating, starting from center side

And then, like any seamstress feeling great and full of cupcakes, I grabbed a zipper and figured the hardest part was over. I have installed many zippers. The first garment I made was a 1955 dress pattern with a zipper. I opted for an invisible zipper because I wanted it to be, well, invisible. In case you can't tell by now, this was a bad choice. The zipper refused to zip. I pulled. I yanked. I had a talk with it. Zipper would not budge up past the waistline. Thanks to google and several bloggers, I discovered that metal zippers are used for a very good reason.  I have several in my notions box so I chose a 1960's deadstock and carefully restarted the zipper process.  Due to the thickness where the pleats attached to the bodice waist, the metal zipper was very much needed. It worked easily once the right zipper was installed. I hand sewed the lining down with a whipstich. 

Lining sewn down, ready to go!

I carefully hand topstiched once the zipper was set in.

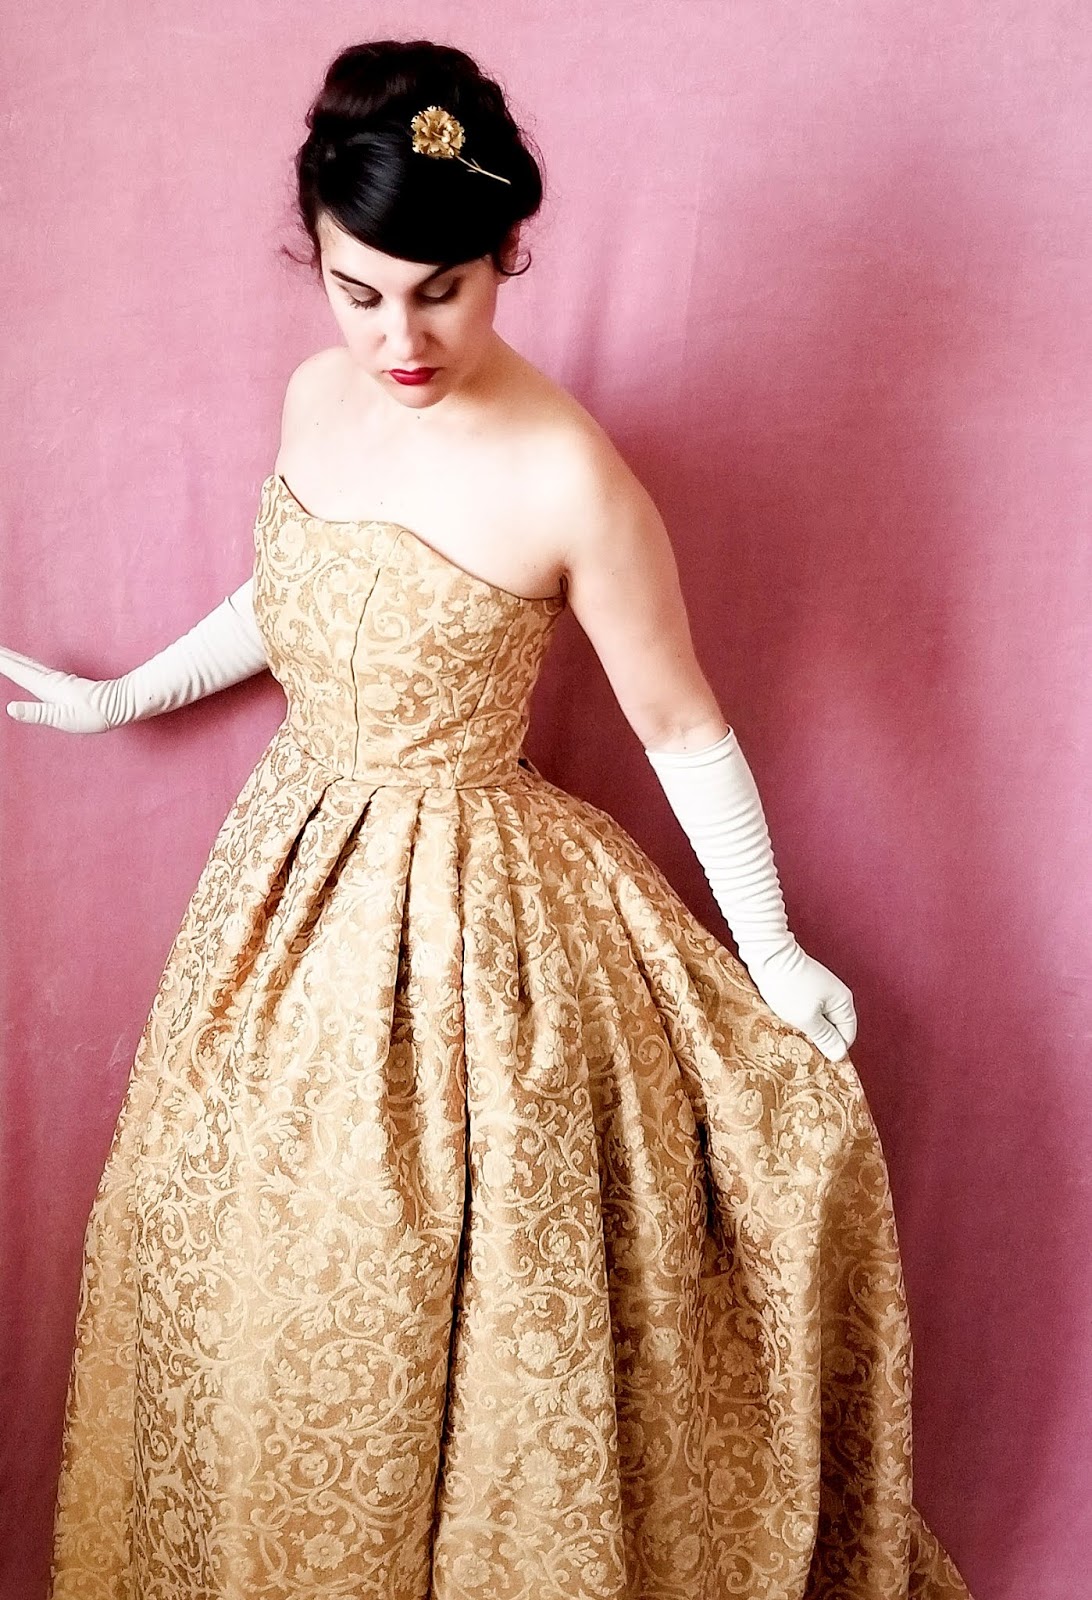
I left a slight train when hemming and the dress was (mostly) complete. I still feel like it is missing a little something. I played with the idea of adding a draped collar at the bustline, or perhaps a belt? Before I had the opportunity to experiment I came down with a bad cold and had to cancel my gala plans. My gown sat for a couple weeks and then I decided to channel my inner Dovima and photograph it because why not?! I may add to it and at least I have my gown ready for the gala next year. 


Back can be further topstiched so I will probably go back and fix this


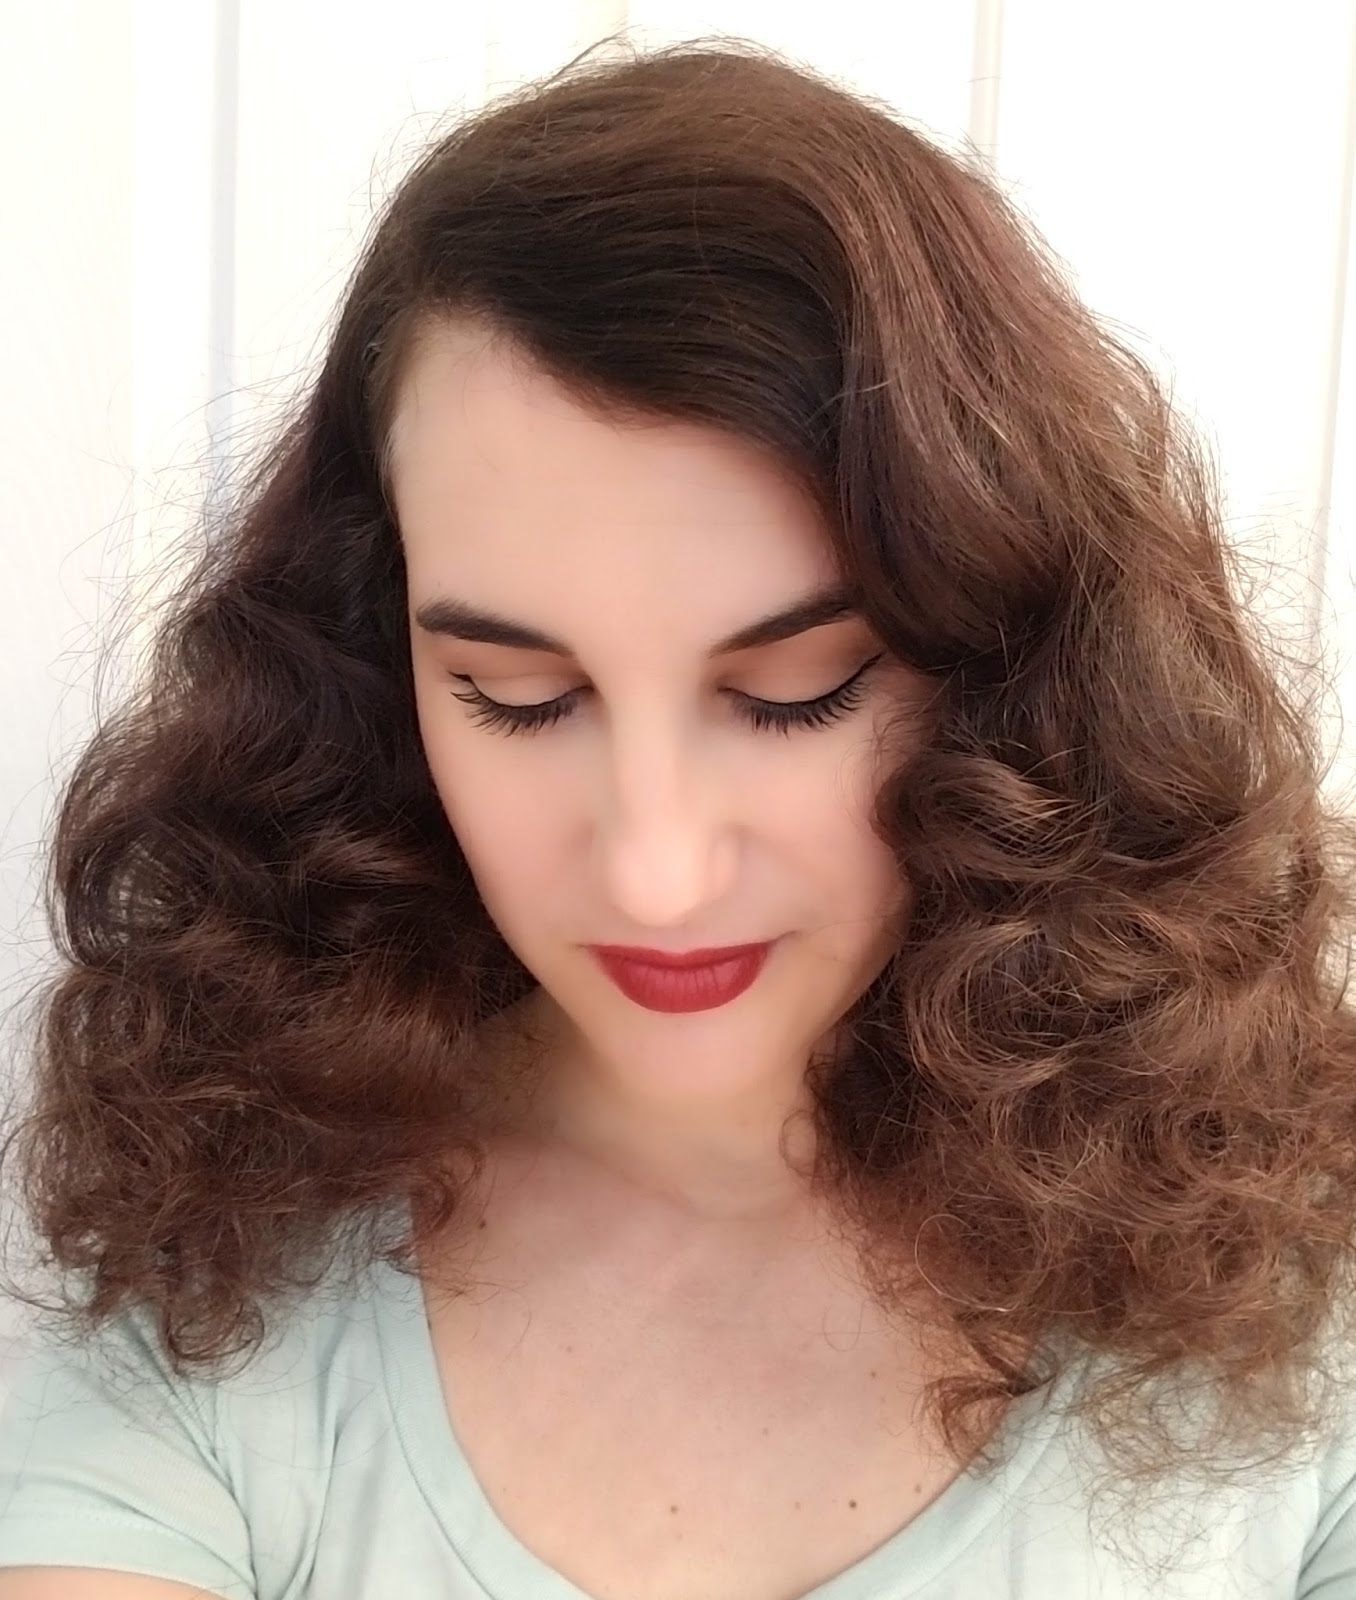
I added a lovely 1960's floral brooch to my hair and long white gloves to complete the look.

Nice look at the back pleating


Thursday, May 3, 2018

The Ikea Italian Gown Part Deux- Accessories, Hair and out and about


All the details, here we go!


In my last post I described creating my Ikea Italian gown using the American Duchess Guide to 18th Century Dressmaking. However, for the rest of my ensemble I was on my own. If you follow me on instagram (@ladauphinecostuming) then you know I love the hair and make up aspect of historical costuming. I probably spent more time reading up on hairstyles than I did on gown construction (no regrets). In fact, I am most excited about the hair classes at Costume College. Thankfully there are many to choose from. But I digress, back to the accessories... As usual, I started with some portraits as inspiration.


Three portrait miniatures from the late 1780's


Lady Skipwith by Sir Joshua Reynolds (1787)  in particular struck me as fabulous


Yes I am aware that these portraits do not showcase cotton Italian gowns but they do give a decent idea of what was stylish at the time. In general, hedgehog hairstyle, lots of floral accessories, portrait miniatures, pearls, gauzy fichus. You get the gist. With all this in mind I set out to recreate a hedgehog hairstyle using my own hair, a ribbon woven through. I wanted a floral corsage a la Lady Skipwith, a fichu tucked into my bodice and finally, my American Duchess shoes shown off to their greatest advantage with white stockings so they POP!

I made the sleeve ruffle and fichu out of the same cotton silk blend. It was sheer and easy to work with. I did a tiny hem (by hand!) and attached the ruffles. The fichu was a simple triangle. I simply tucked the fichu into my stays and it didn't move at all, even in the car. 


My pretty hand sewn sleeve ruffle

Sheer ruffles on sleeve and a delicate fichu

For the jewelry I purchased beautiful red drop earrings from Dames a la Mode. I found a locket pendant at Michaels when looking for ribbon and decided to at least TRY to make a portrait miniature necklace. It is fairly simple - the glass has a hinge that opens so you can put objects inside. I found some paintings online and printed them on my home printer. I inserted the paper portrait and added a pink velvet ribbon. Next time I will purchase one already made because while I love mine very much, it isn't really historically accurate. But it will do for now! My cosmetics are mostly from LBCC, which is a really cool shop that specializes in historical cosmetics. For someone like me with sensitive skin, I am very happy to have found them.

Delicate red drops from Dames a la Mode


"miniature portrait" pendant, front and back

The corsage is two bunches of false flowers with wire. I twisted them together and then tied a white satin ribbon to the base of the flowers in a bow. I then hot glued a small piece of velvet ribbon to the back to secure things. The corsage attached to my bodice with pins.  The flowers were still moveable due to the wire, so I was able to manipulate them into a shape I wanted once pinned on my bodice. 

Simple but effective. I am now delving into silk flower making and I assure you it is a rabbithole of tutorials and techniques.

Finally, my American Duchess shoes. I had a hard time choosing a style. I could have been practical and gone with black or white leather but oh no, I saw the red and white Dunmores in the fall and could not stop thinking about them. I have absolutely no business buying shoes with a white heel but they were so pretty! I ordered my normal size according to their size chart. They fit perfectly and comfortably. I was terrified to punch the holes in for the buckle. There is a short video you can access on youtube to see how to put on the buckles (I may have watched it five or ten times. I admit nothing). Naturally, I started plotting my Italian gown as soon as I sent payment. I would like to report that after three wearings, the white heel is still pristine. Obviously these shoes and I were meant to be!

Right out of the box and buckles on. I chose the James buckle.


Look at me, perfecting my "admire my shoes" pose

And then there was the hair. It took three tries and lucky you, I took pictures! A basic hedgehog has lots of volume. So much volume. There is at least one curl or lock of hair hanging down, sometimes more. I started with the tutorial from  Stay-ing Alive. It is basic, easy and it works. I did opt for a different kind of curler. For my first attempt. I used maybe fifteen curlers only.


                            Dollar tree deal. Yes they are reusable. I think I bought six packs because why not?!

I put them in around 9pm and took them out the next morning around 10am. No hair wax or setting lotion (I do have naturally wavy hair). I got great curls but they weren't as tight as Abby's because I didn't use enough curlers. I also did not place the curlers close enough to my scalp, so the curls started farther down.

Right after taking them out you get the Shirley Temple look. After separating and back combing you get a 1980's throwback.


I did a brush out and got vaguely retro hair

The second time I got serious. I was about to attend the American Duchess event and I really wanted the hair to look great. I used 22 curlers and put hair wax in my hair before rolling them in.  After sleeping on them all night, I woke up, and following Abby's tutorial I put in more hair wax. I back combed until I could back comb no more (both front and back). I then took chunks and lightly twisted at the base and put in a bobby pin to secure. My hair is very long and so I needed to "shorten" the length just a bit. I pinned in my ribbon and added a chunk of fake hair pinned to the back. You know when they say you get what you pay for? Well, when you buy really inexpensive hair you get what you pay for. I tried to curl it via the boiling water method. That was a no go. Then I tried the curling iron. Needless to say, the garbage can looked like it had a rat infestation with all the burned hair attempts. I do not recommend it. So a straight piece is what I got......

This was in the evening after I got home. I think it held up pretty well, all things considered.


Walking to the event, hair is big but not massive (sunglasses not period correct but look cool)


Hair selfie at the museum cafe before the event with the infamous false hair piece.


The third time I think I really nailed it. I used around 30 curlers and kept them in 14 hours. I put in some hair wax before starting with the curlers. I also sprayed a fair amount of hairspray on after turning my head into a maze of curlers. When I took them out in the morning.....


Curlers just came out


After just separating the curls using my fingers. Oooooh yeah. Look at those CURLS!

Right away I knew I had hit the jackpot. I could have kept backcombing but lets be honest, your arms get tired and you spend too much time contemplating other things and get to the point where you think, "what is the point in continuing? I am done." So, I was done. I opted not to use the false hair piece but used two curls of my own hair instead and no red ribbon. We were shooting pictures outdoors and I wanted a more natural look (also, I couldn't find the ribbon or false hair piece but we can pretend it was an aesthetic choice). I probably used half a can of hairspray to make sure nothing would move. 

And so I give you my successful hedgehog. Don't think I won't be trying again, because I already have plans for that. I know I can go bigger and I also want to try a pad in there for more height. My photographer (and sister in law) took some lovely pictures and we had a nice time exploring the park. It was a beautiful day.


The light caught the hedgehog very nicely!
        

Lounging by a tree, as one does

The skirt looks lovely both down and en retrousse


If you would like to see the gown in action (and it moved so nicely when I walked), I have posted some videos in my Facebook group. There is also a getting dressed video so you can see it all come together!